
Canadian Food Bloggers Dish on Their Fave Dish
2018 Dec 2nd
With the weather peaking at its coldest, our favourite bloggers have provided their most valued winter recipes to keep us all warm and cozy. These great Canadian Food Bloggers give us ideas that will please any crowd! From breakfast, lunch, brunch, dinner, and even snacks and of course desserts, these folks can write the perfect recipe to please the pickiest of palates.
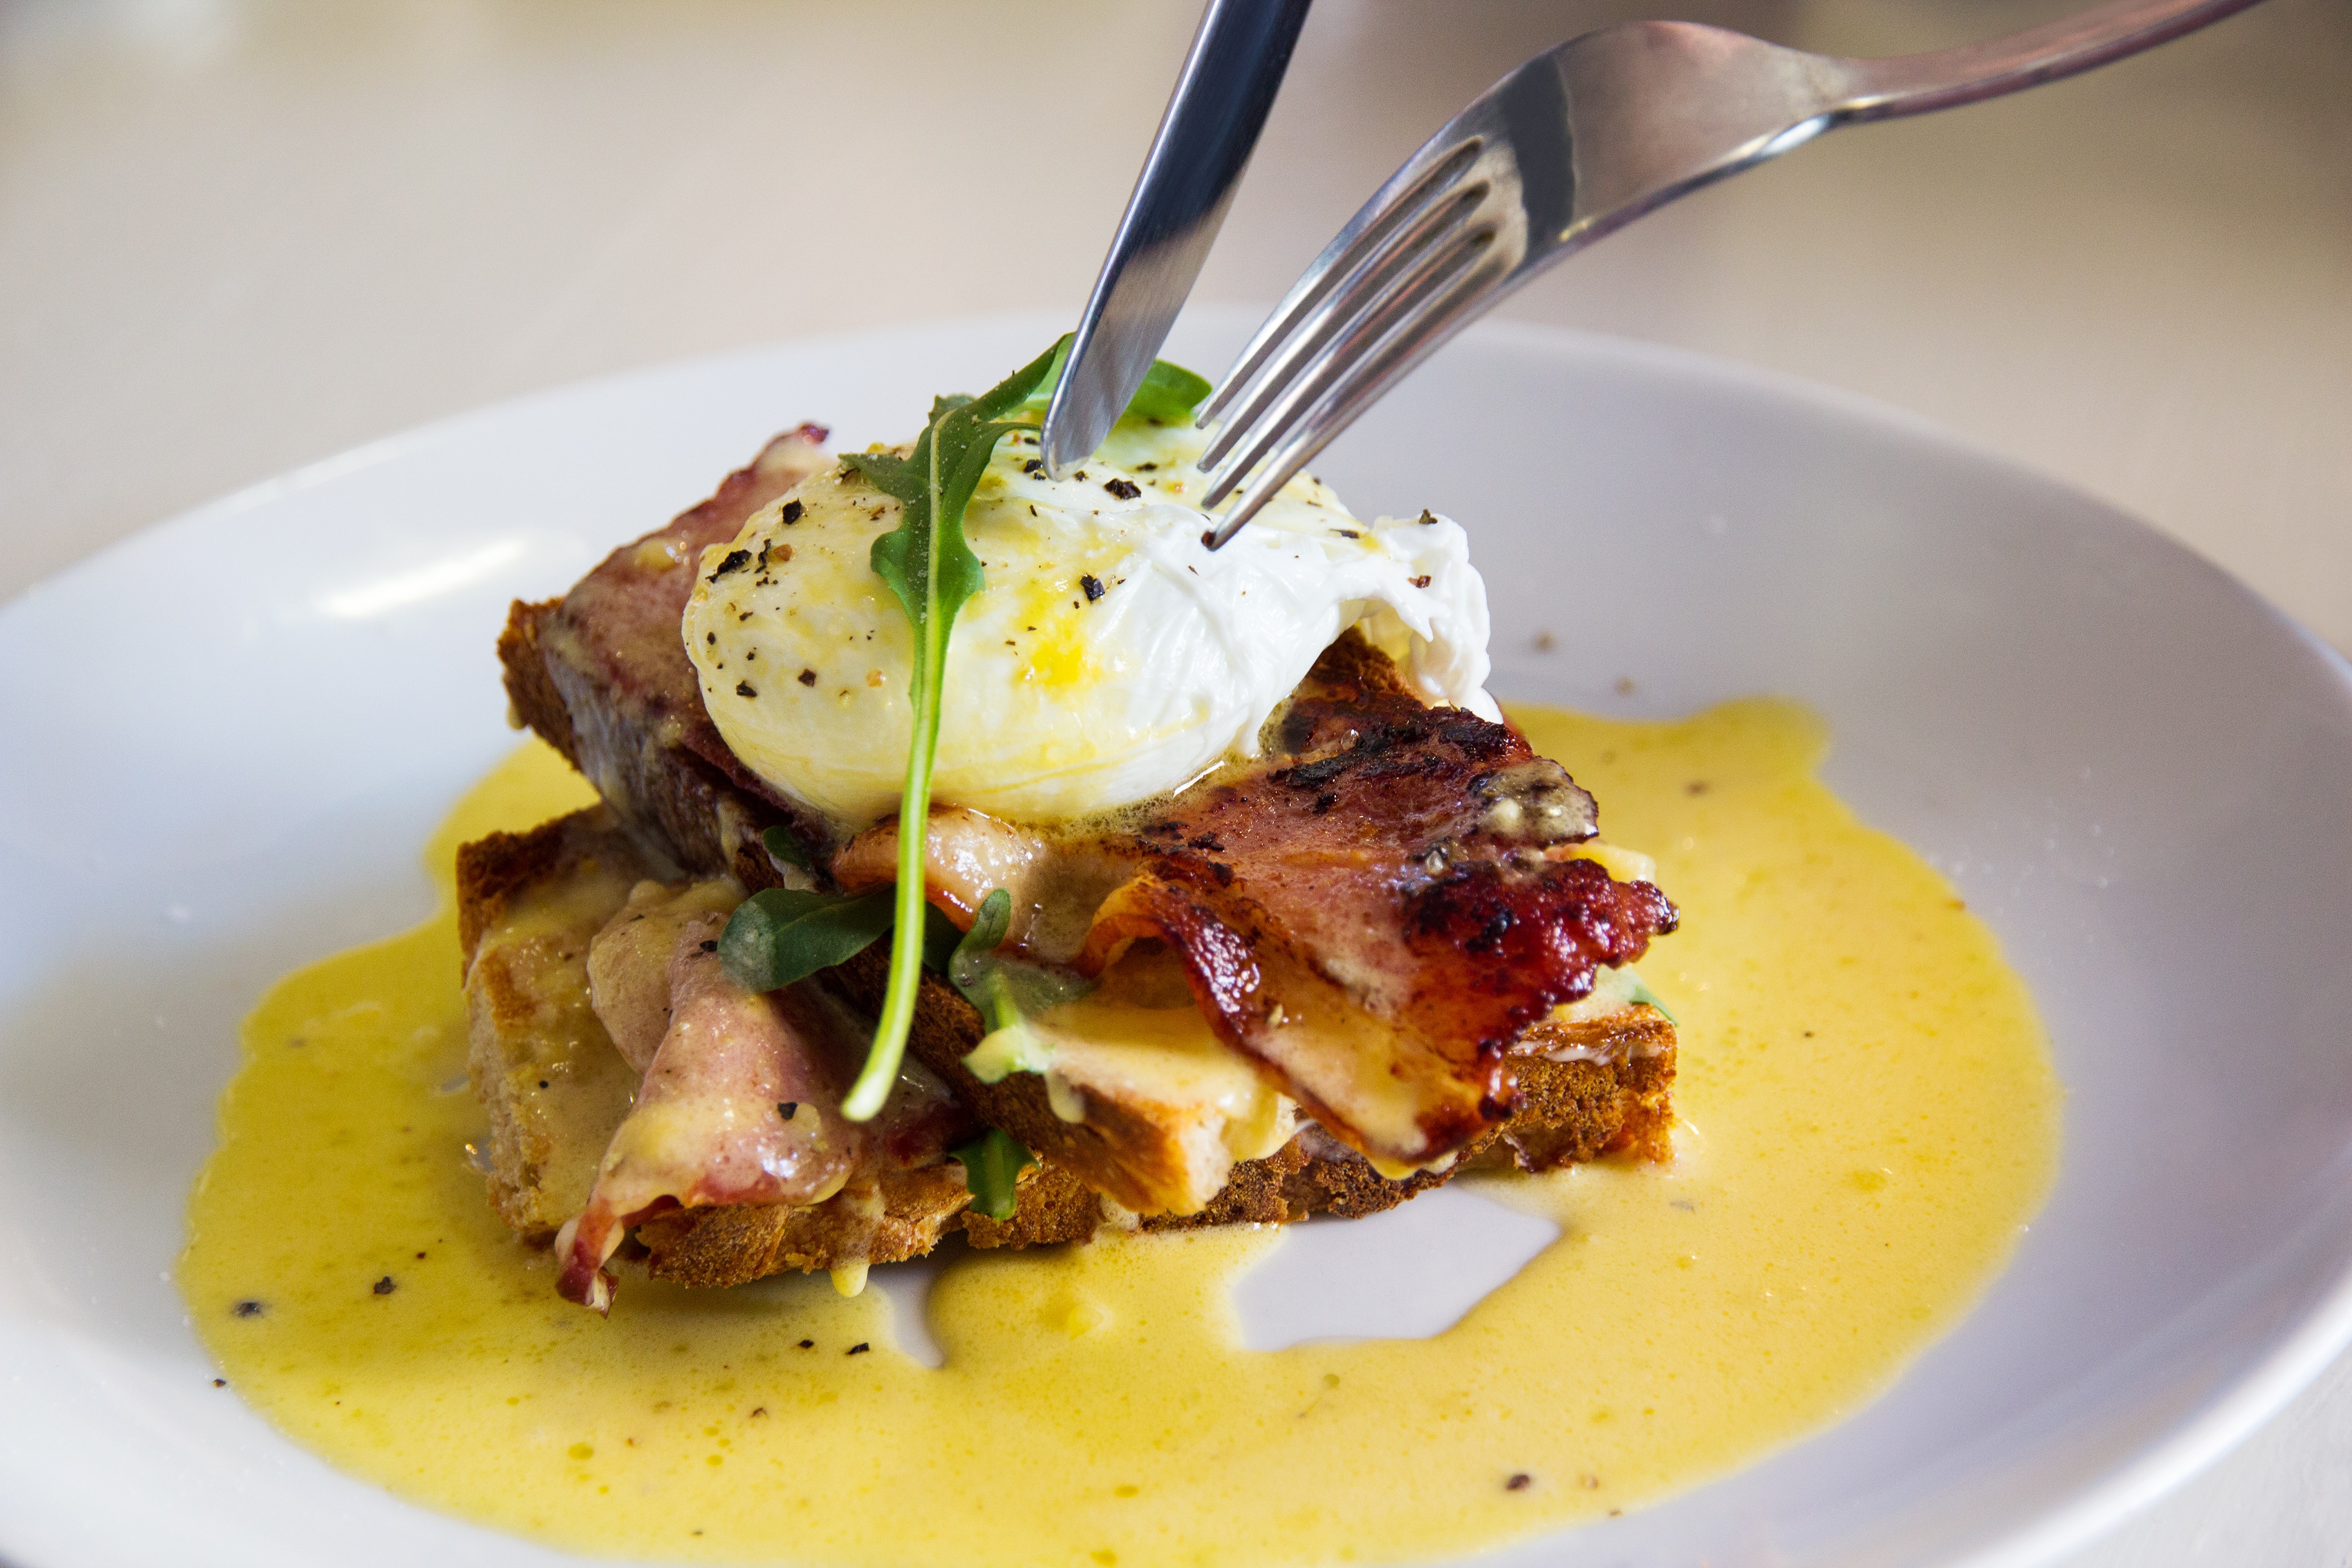
Renee Kohlman, the creator of sweetsugarbean is simply, well, a butter freak! And we love her for it! Cooking, food photography, and writing are her passions. Who doesn’t enjoy butter as a sauce for breakfast? Eggs Benedict with Blender Hollandaise and Peameal Bacon is a classic done Canadian style by Renee. This recipe is straight from her blog at sweetsugarbean.
 Eggs Benedict with Blender Hollandaise Sauce
INGREDIENTS
6 English Muffins (or thick toast)
1 big chunk of peameal bacon, cut into 12 slices, or 12 slices of ham, or bacon or smoked salmon.
12 eggs
Sauce:
3 egg yolks
1/2 tsp salt
dash cayenne pepper
1 tbsp heavy cream
1 cup melted unsalted butter (if using salted butter, omit the salt above)
2 tbsp lemon juice
Directions
Eggs Benedict with Blender Hollandaise Sauce
INGREDIENTS
6 English Muffins (or thick toast)
1 big chunk of peameal bacon, cut into 12 slices, or 12 slices of ham, or bacon or smoked salmon.
12 eggs
Sauce:
3 egg yolks
1/2 tsp salt
dash cayenne pepper
1 tbsp heavy cream
1 cup melted unsalted butter (if using salted butter, omit the salt above)
2 tbsp lemon juice
Directions
 OVERNIGHT EGGNOG FRENCH TOAST
INGREDIENTS
6 eggs
2 cups eggnog
2 teaspoons vanilla extract
1 teaspoon cinnamon
8 cups cubed Challah bread
Directions
OVERNIGHT EGGNOG FRENCH TOAST
INGREDIENTS
6 eggs
2 cups eggnog
2 teaspoons vanilla extract
1 teaspoon cinnamon
8 cups cubed Challah bread
Directions
 HARRISA-ROASTED KABOCHA SQUASH HUMMUS
INGREDIENTS
Scant 3/4 cups dried chickpeas
1/2 tsp baking soda
8 cups water
Medium kabocha squash (aka buttercup squash), peeled, seeded, and cut into 1/2-inch cubes
1 tbsp olive oil, plus more to thin and serve
2 tbsp your favourite harissa paste
1/2 cup light roast tahini
2 tbsp freshly squeezed lemon juice
2 cloves garlic, crushed
6 tbsp ice-cold water, plus more as needed to thin
Kosher salt (see instructions)
Directions
HARRISA-ROASTED KABOCHA SQUASH HUMMUS
INGREDIENTS
Scant 3/4 cups dried chickpeas
1/2 tsp baking soda
8 cups water
Medium kabocha squash (aka buttercup squash), peeled, seeded, and cut into 1/2-inch cubes
1 tbsp olive oil, plus more to thin and serve
2 tbsp your favourite harissa paste
1/2 cup light roast tahini
2 tbsp freshly squeezed lemon juice
2 cloves garlic, crushed
6 tbsp ice-cold water, plus more as needed to thin
Kosher salt (see instructions)
Directions
 TACO RICE
INGREDIENTS
2¾ - 3 cups cooked rice (or other grain - see post for options)
½ lb lean ground beef
½ small onion, finely chopped
3-4 mushrooms, finely chopped
1 small bell pepper, finely chopped
½ cup salsa
½ cup water
1 pkg (30g) reduced sodium taco seasoning
1 cup grated cheddar cheese
SALAD TOPPINGS:
chopped tomatoes
chopped lettuce
sour cream
grated cheese
tortilla chips
Directions
TACO RICE
INGREDIENTS
2¾ - 3 cups cooked rice (or other grain - see post for options)
½ lb lean ground beef
½ small onion, finely chopped
3-4 mushrooms, finely chopped
1 small bell pepper, finely chopped
½ cup salsa
½ cup water
1 pkg (30g) reduced sodium taco seasoning
1 cup grated cheddar cheese
SALAD TOPPINGS:
chopped tomatoes
chopped lettuce
sour cream
grated cheese
tortilla chips
Directions
 SMOTHERED CHICKEN
INGREDIENTS
canola or olive oil, for cooking
8 chicken thighs, with skin and bone
salt and freshly ground black pepper
big pinches of fresh or dried thyme
1 large onion, halved and thinly sliced
2 cups quartered fresh mushrooms
2 garlic cloves, crushed
2 Tbsp all-purpose flour
1-1 1/2 cups chicken stock
1/2 cup whipping cream or sour cream
Directions
SMOTHERED CHICKEN
INGREDIENTS
canola or olive oil, for cooking
8 chicken thighs, with skin and bone
salt and freshly ground black pepper
big pinches of fresh or dried thyme
1 large onion, halved and thinly sliced
2 cups quartered fresh mushrooms
2 garlic cloves, crushed
2 Tbsp all-purpose flour
1-1 1/2 cups chicken stock
1/2 cup whipping cream or sour cream
Directions
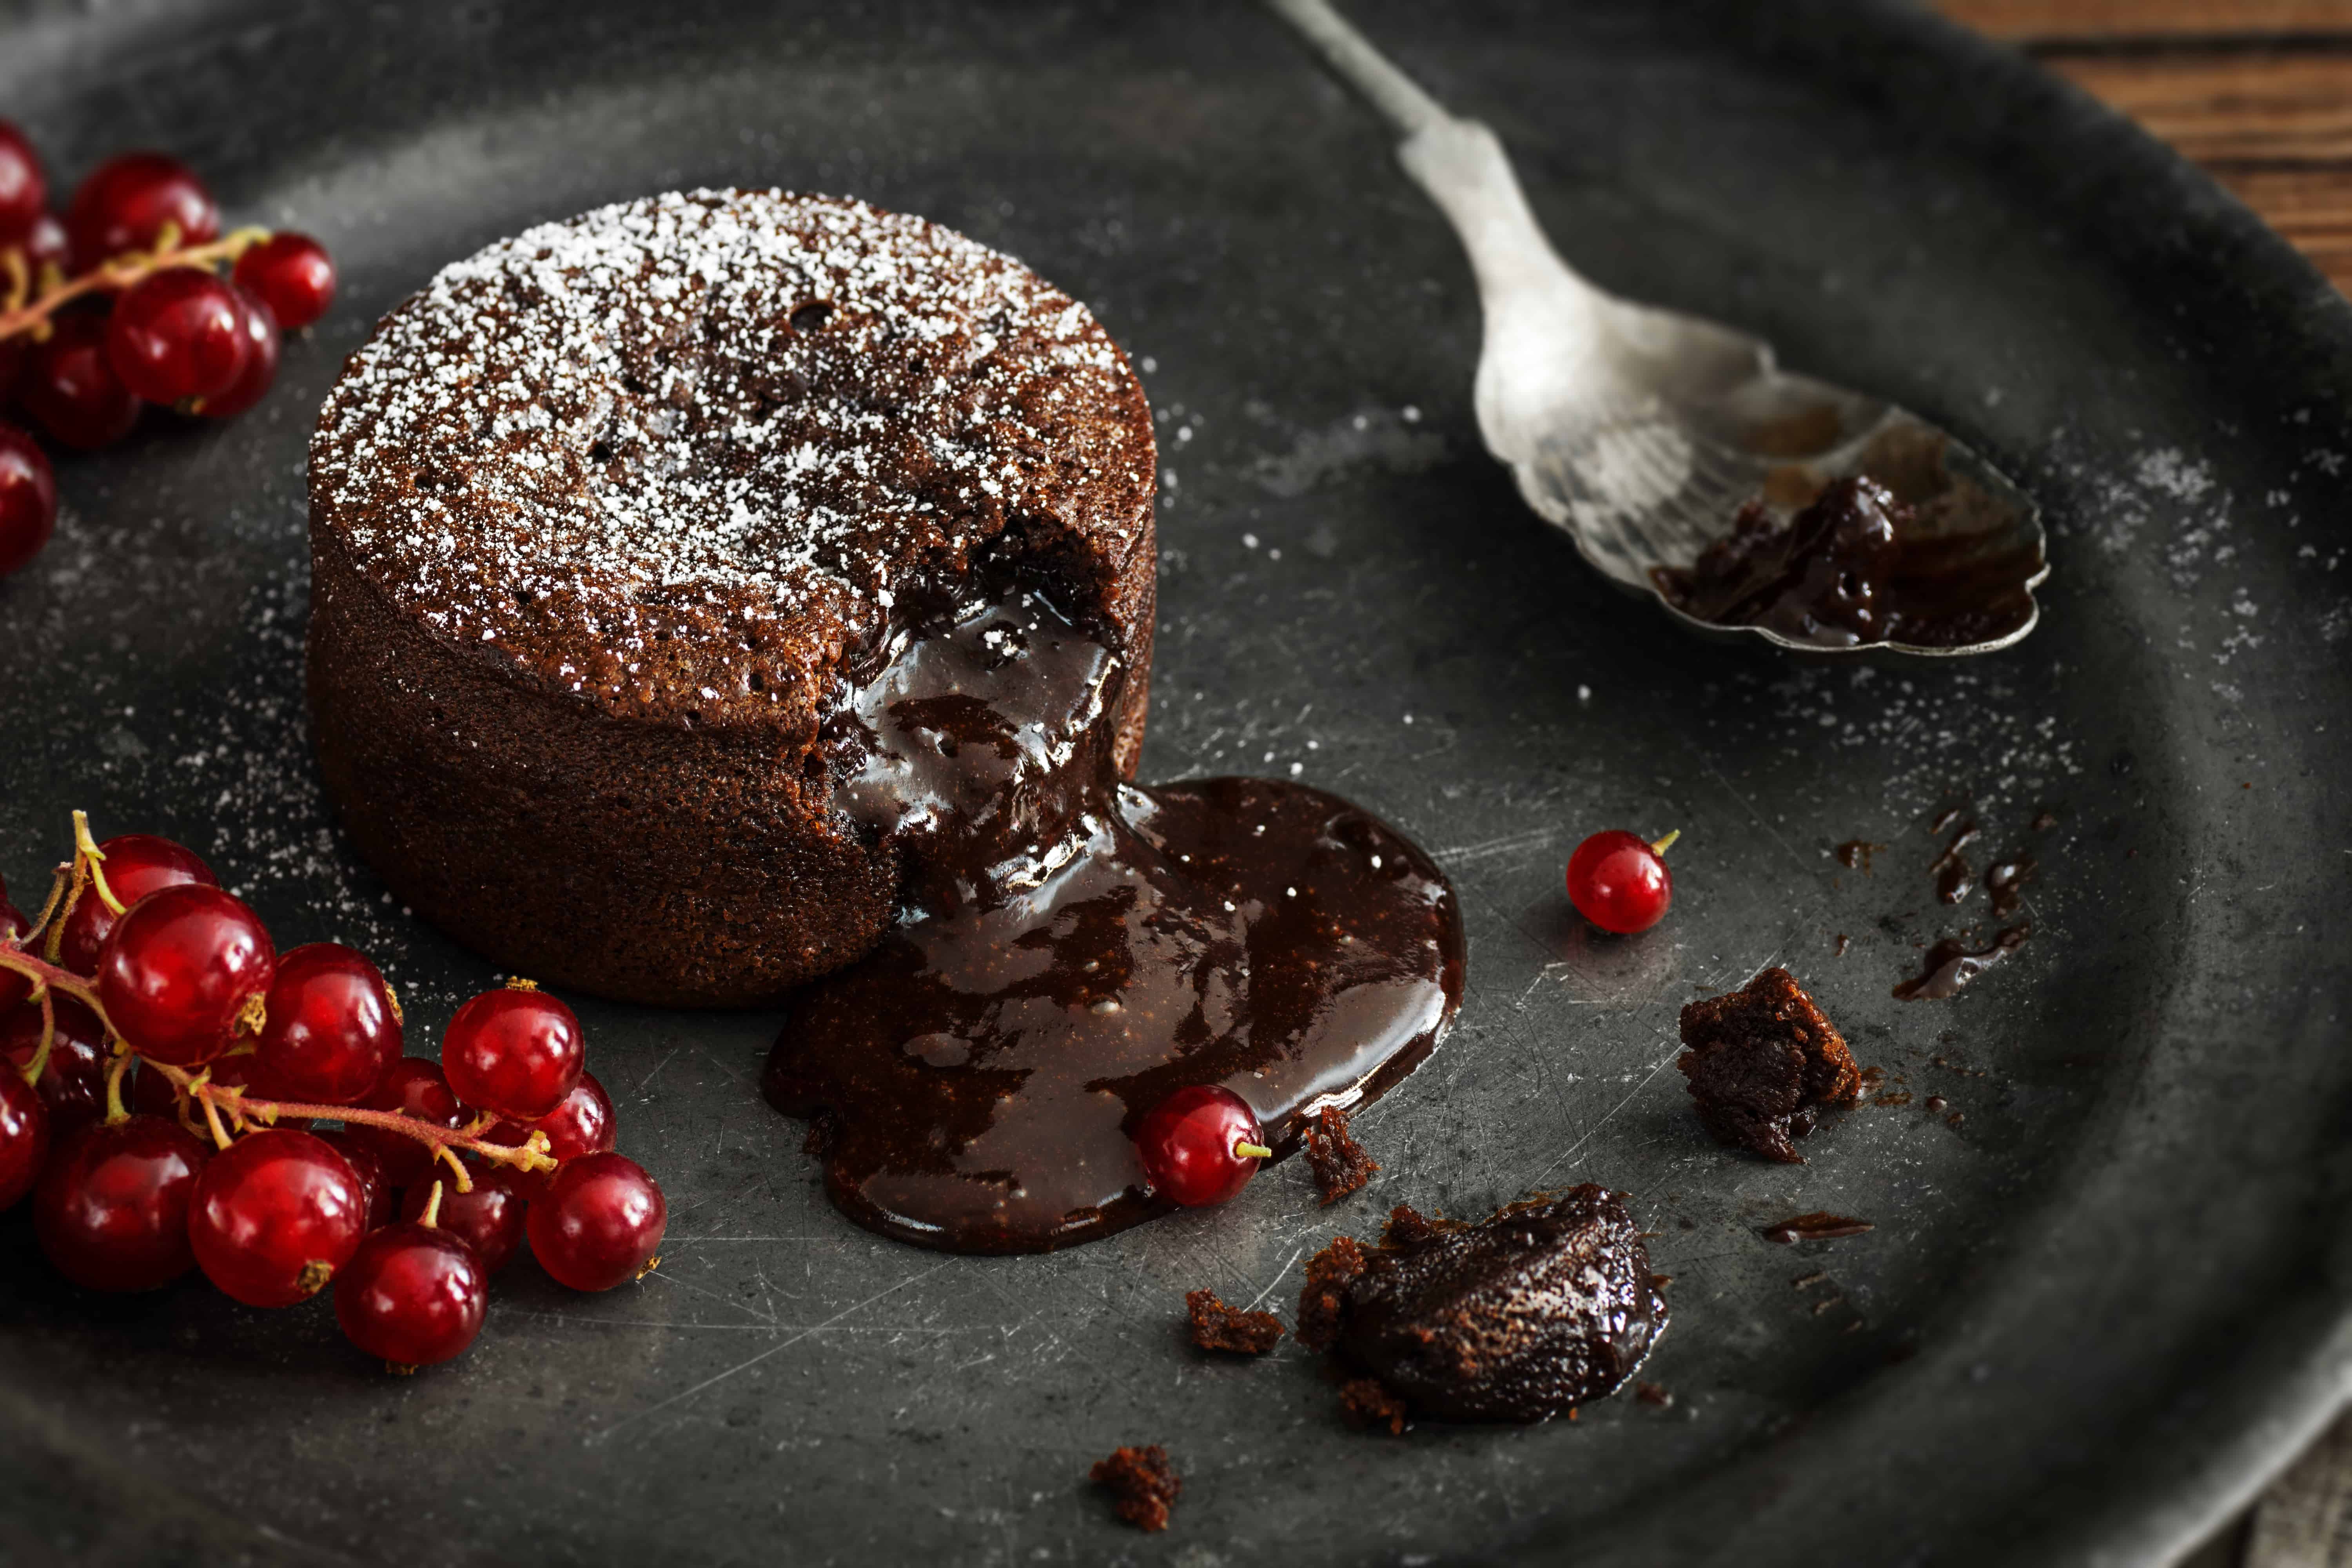 MEXICAN HOT FUDGE CHOCOLATE PUDDING CAKE
INGREDIENTS
Cake:
1 cup flour
3/4 cup granulated sugar
1/4 cup cocoa powder
2 tsp baking powder
1/4 tsp salt
1/2 cup milk
2 tbsp melted butter
1/2 tsp vanilla extract
Topping:
1/2 cup lightly packed brown sugar
1/4 cup granulated sugar
1/4 cup cocoa powder
1 tsp ground cinnamon
1/4 tsp ground chipotle powder
1 cup very hot fresh-brewed coffee
3/4 cup milk
Directions
MEXICAN HOT FUDGE CHOCOLATE PUDDING CAKE
INGREDIENTS
Cake:
1 cup flour
3/4 cup granulated sugar
1/4 cup cocoa powder
2 tsp baking powder
1/4 tsp salt
1/2 cup milk
2 tbsp melted butter
1/2 tsp vanilla extract
Topping:
1/2 cup lightly packed brown sugar
1/4 cup granulated sugar
1/4 cup cocoa powder
1 tsp ground cinnamon
1/4 tsp ground chipotle powder
1 cup very hot fresh-brewed coffee
3/4 cup milk
Directions
 Eggs Benedict with Blender Hollandaise Sauce
INGREDIENTS
6 English Muffins (or thick toast)
1 big chunk of peameal bacon, cut into 12 slices, or 12 slices of ham, or bacon or smoked salmon.
12 eggs
Sauce:
3 egg yolks
1/2 tsp salt
dash cayenne pepper
1 tbsp heavy cream
1 cup melted unsalted butter (if using salted butter, omit the salt above)
2 tbsp lemon juice
Directions
Eggs Benedict with Blender Hollandaise Sauce
INGREDIENTS
6 English Muffins (or thick toast)
1 big chunk of peameal bacon, cut into 12 slices, or 12 slices of ham, or bacon or smoked salmon.
12 eggs
Sauce:
3 egg yolks
1/2 tsp salt
dash cayenne pepper
1 tbsp heavy cream
1 cup melted unsalted butter (if using salted butter, omit the salt above)
2 tbsp lemon juice
Directions
- In a blender, combine the yolks, salt, cayenne and cream. Blend for a few seconds.
- In a small pot, melt the butter until bubbly. Don't brown the butter.
- With the motor of your blender running, slowly, but steadily pour the hot butter into the yolks. Halfway through, add 1 tbsp of lemon juice. Pour in the rest of your hot butter. Adjust seasonings. You may need to blend in more lemon or salt or hot sauce, or fresh chopped dill.
- Pour over hot poached eggs, or if not serving immediately, pour into a thermos to keep warm.
- For the assembly, fry up your peameal bacon until crisp. Place on top of toasted English Muffins. Top with hot poached eggs.
- Drizzle the sauce, and dive in. Serves 6. Sauce adapted from Bon Appetit.
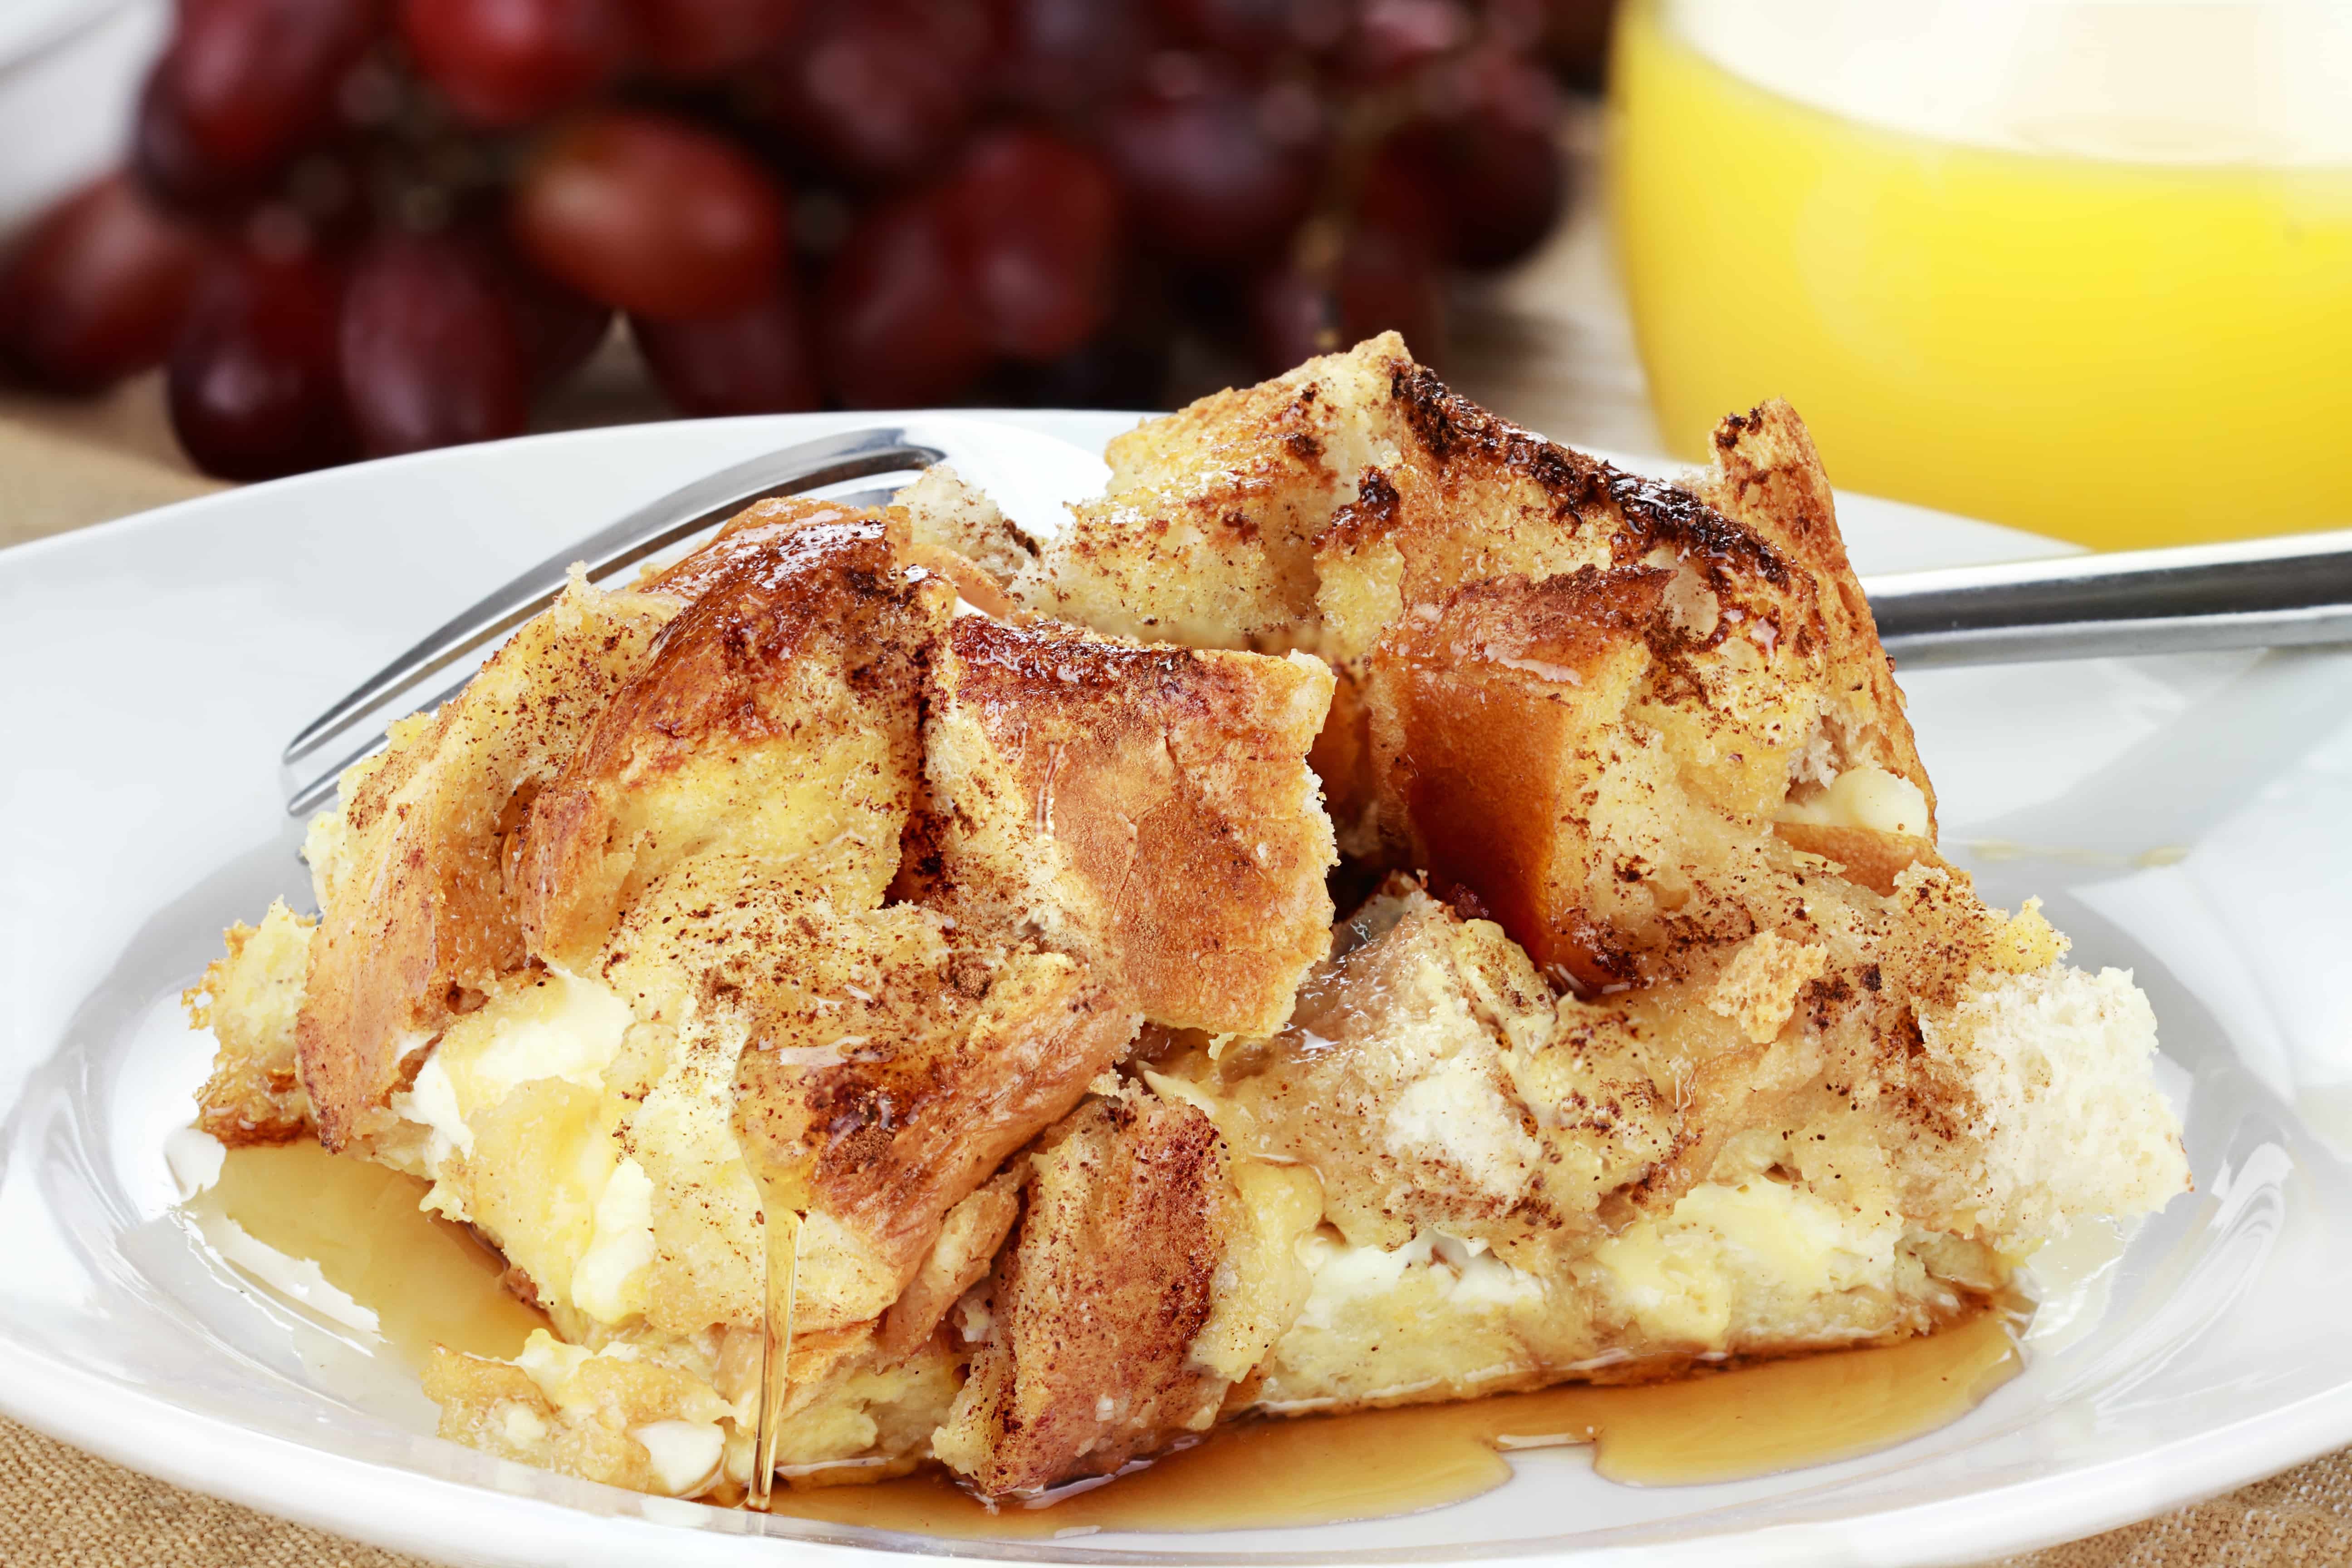 OVERNIGHT EGGNOG FRENCH TOAST
INGREDIENTS
6 eggs
2 cups eggnog
2 teaspoons vanilla extract
1 teaspoon cinnamon
8 cups cubed Challah bread
Directions
OVERNIGHT EGGNOG FRENCH TOAST
INGREDIENTS
6 eggs
2 cups eggnog
2 teaspoons vanilla extract
1 teaspoon cinnamon
8 cups cubed Challah bread
Directions
- In a large bowl, whisk eggs with eggnog, vanilla extract and cinnamon.
- Fold in the bread. Pour the mixture in an 8” x 8” ovenproof baking dish. Cover with plastic wrap and place in the fridge overnight.
- Preheat the oven at 350℉. Uncover, and bake until custard sets and bread is starting to brown (about 45 minutes).
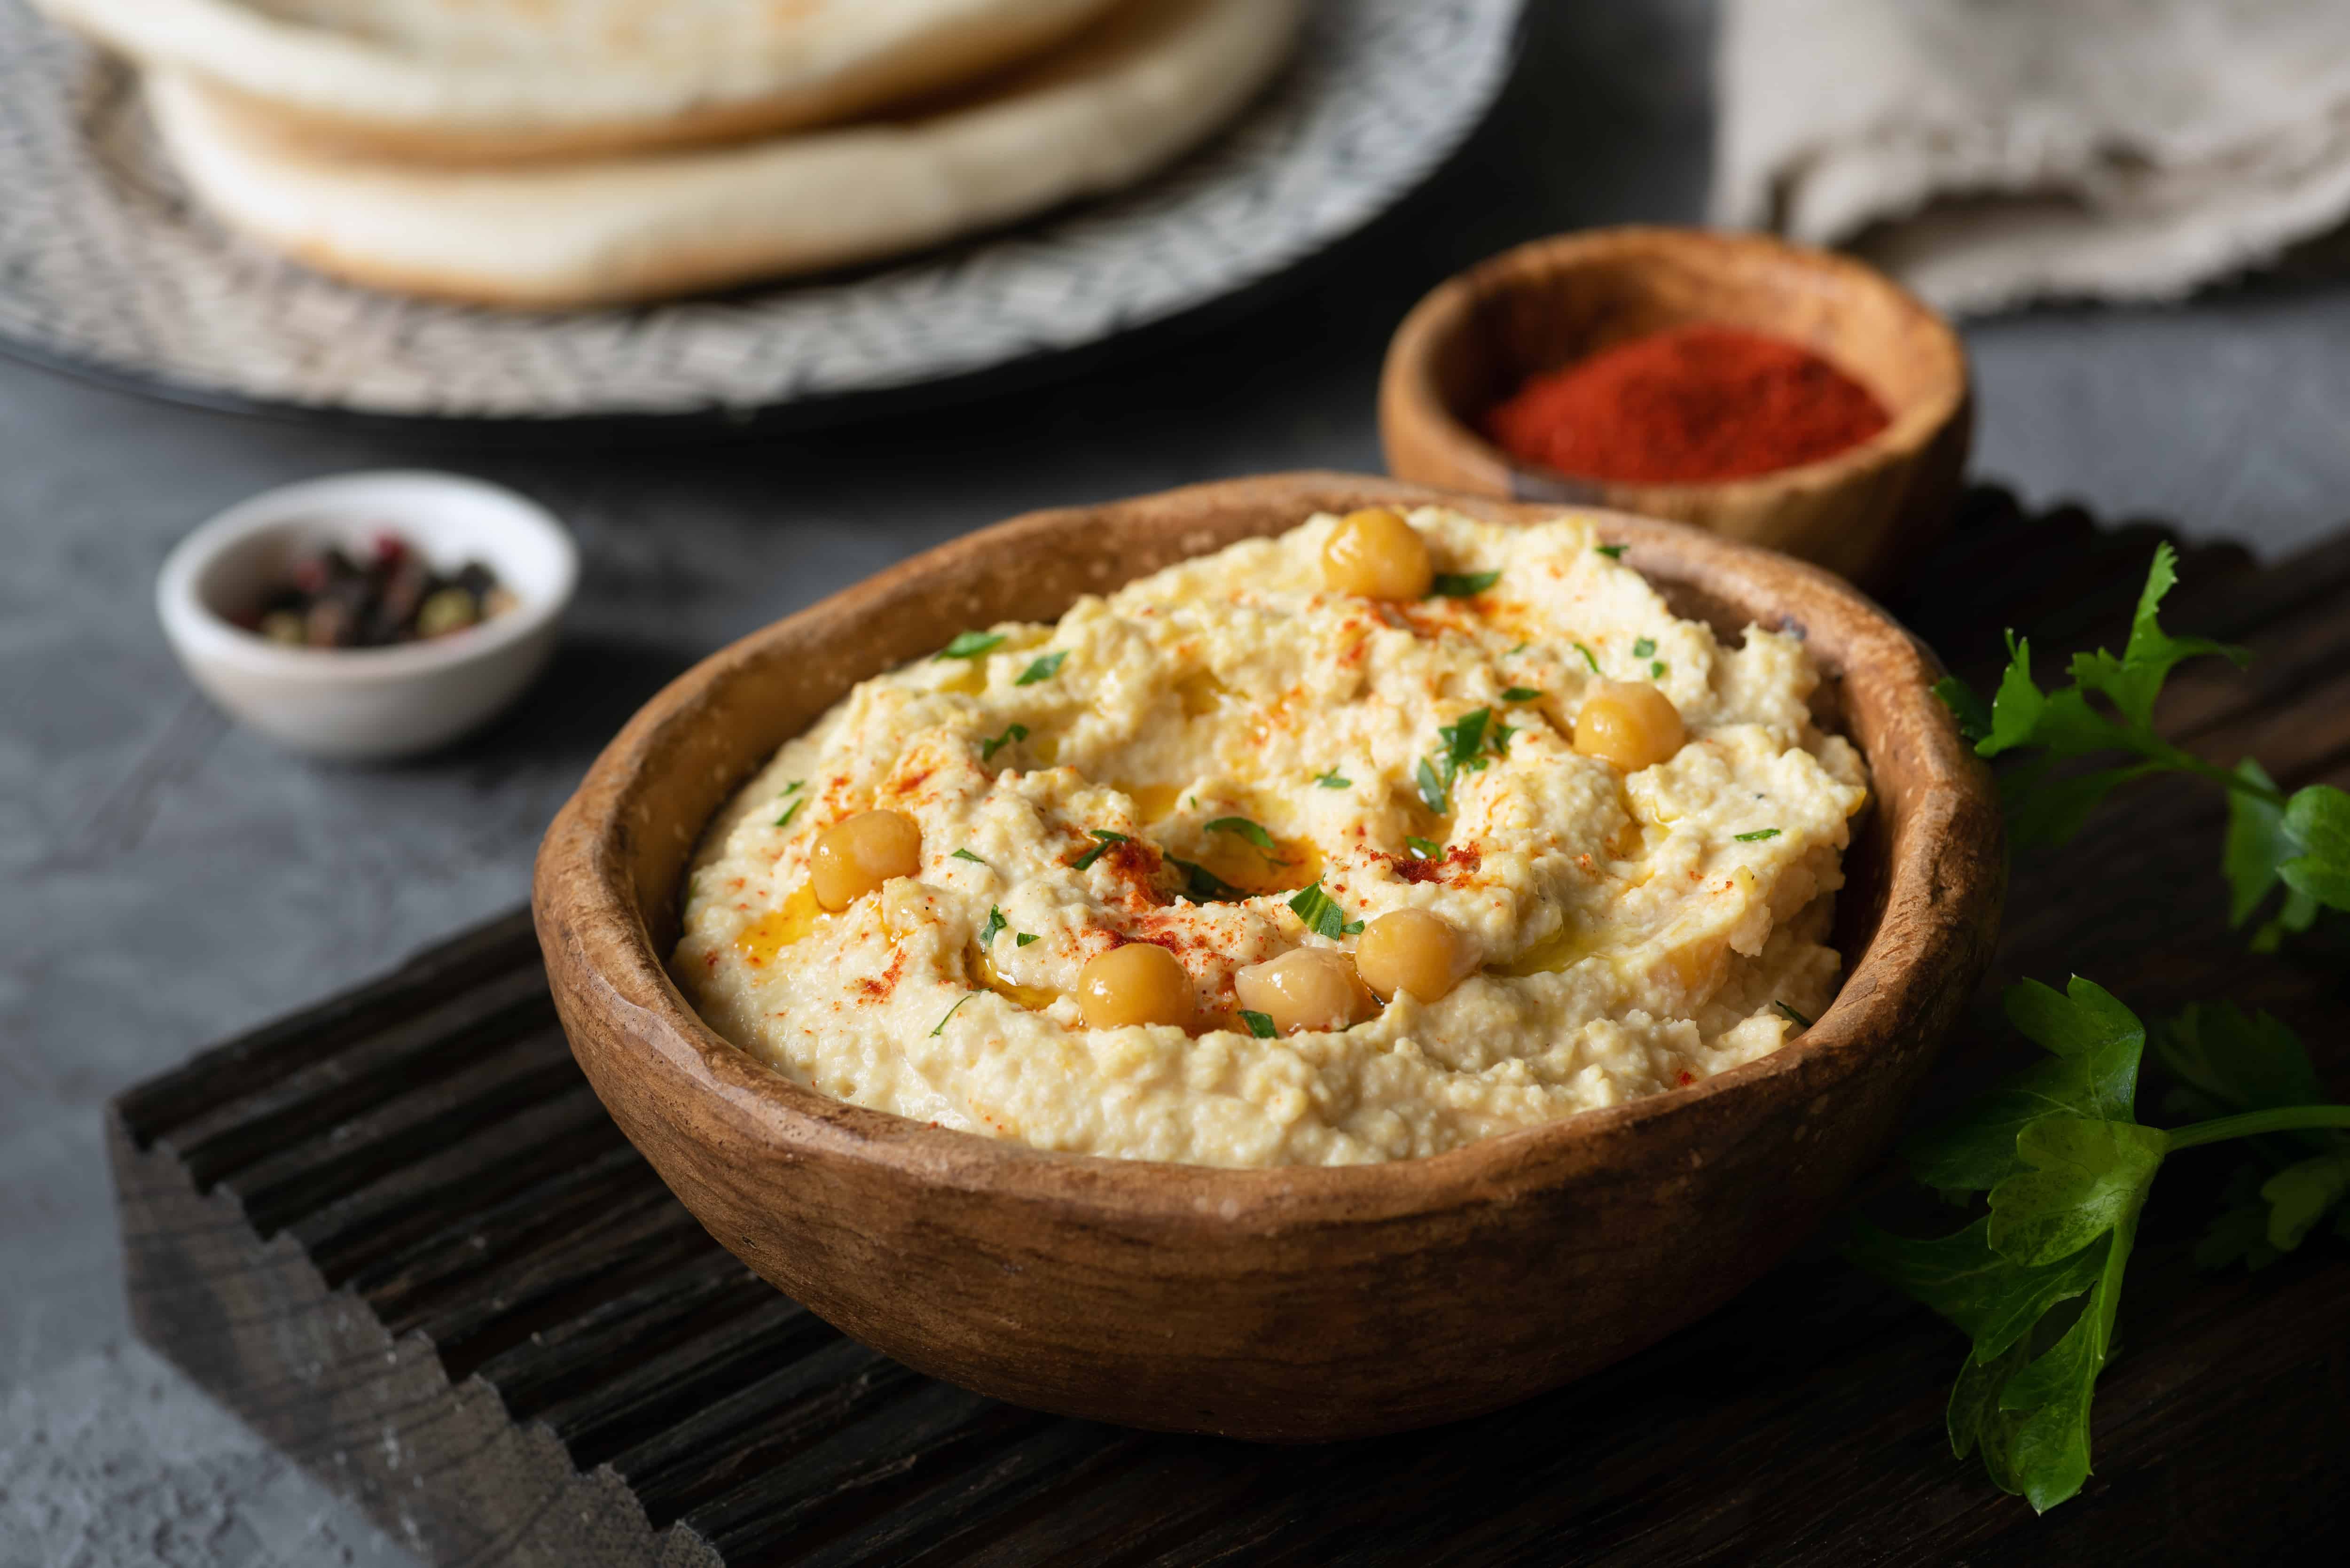 HARRISA-ROASTED KABOCHA SQUASH HUMMUS
INGREDIENTS
Scant 3/4 cups dried chickpeas
1/2 tsp baking soda
8 cups water
Medium kabocha squash (aka buttercup squash), peeled, seeded, and cut into 1/2-inch cubes
1 tbsp olive oil, plus more to thin and serve
2 tbsp your favourite harissa paste
1/2 cup light roast tahini
2 tbsp freshly squeezed lemon juice
2 cloves garlic, crushed
6 tbsp ice-cold water, plus more as needed to thin
Kosher salt (see instructions)
Directions
HARRISA-ROASTED KABOCHA SQUASH HUMMUS
INGREDIENTS
Scant 3/4 cups dried chickpeas
1/2 tsp baking soda
8 cups water
Medium kabocha squash (aka buttercup squash), peeled, seeded, and cut into 1/2-inch cubes
1 tbsp olive oil, plus more to thin and serve
2 tbsp your favourite harissa paste
1/2 cup light roast tahini
2 tbsp freshly squeezed lemon juice
2 cloves garlic, crushed
6 tbsp ice-cold water, plus more as needed to thin
Kosher salt (see instructions)
Directions
- Soak chickpeas overnight (or, alternatively, cook the same day in an instant pot or pressure cooker according to the manufacturer’s directions).
- Next day: If using the stove top, place soaked, drained chickpeas, baking soda, and water in a large pot over high heat. Bring to a boil. Cook skimming off any foam that arises, until the chickpeas are very tender, but not mushy. The process will take anywhere from 20 to 60 minutes, depending on type and freshness of your chickpeas. Drain the chickpeas and set aside.
- Meanwhile, preheat oven to 425°F and place squash cubes on a parchment-lined baking tray. Drizzle with olive oil and harissa and sprinkle on a generous pinch or two of salt. Using your hands, toss everything together.
- Bake squash on middle rack for 15 minutes. Remove from oven, toss and return to oven until cooked tender and golden, approximately 10 minutes. Allow to cool. Set aside one cup and reserve the rest of enjoying over salads during the week.
- Add chickpeas to a food processor and run it until a stiff paste forms. Add in the tahini paste, lemon juice, garlic, and 3/4 teaspoon salt. Process until well-incorporated. Add 1 cup of roasted squash and process until very little squash bits remain. If the mixture is stiff, drizzle in the 6 tbsp of ice water and continue to process until you get a very smooth and creamy paste. If at any time the mixture feels too thick, alternate adding in ice water and olive oil 1 tablespoon at a time. Season with more salt and lemon, as needed.
- Transfer to sealed container in the fridge where it will keep for a week. If eating right away, spoon it onto a plate or bowl and create a small well around the circumference of it.
- Drizzle with your best olive oil and garnish with sweet or smoked paprika in the centre. Serve with pita, crackers, and crudités.
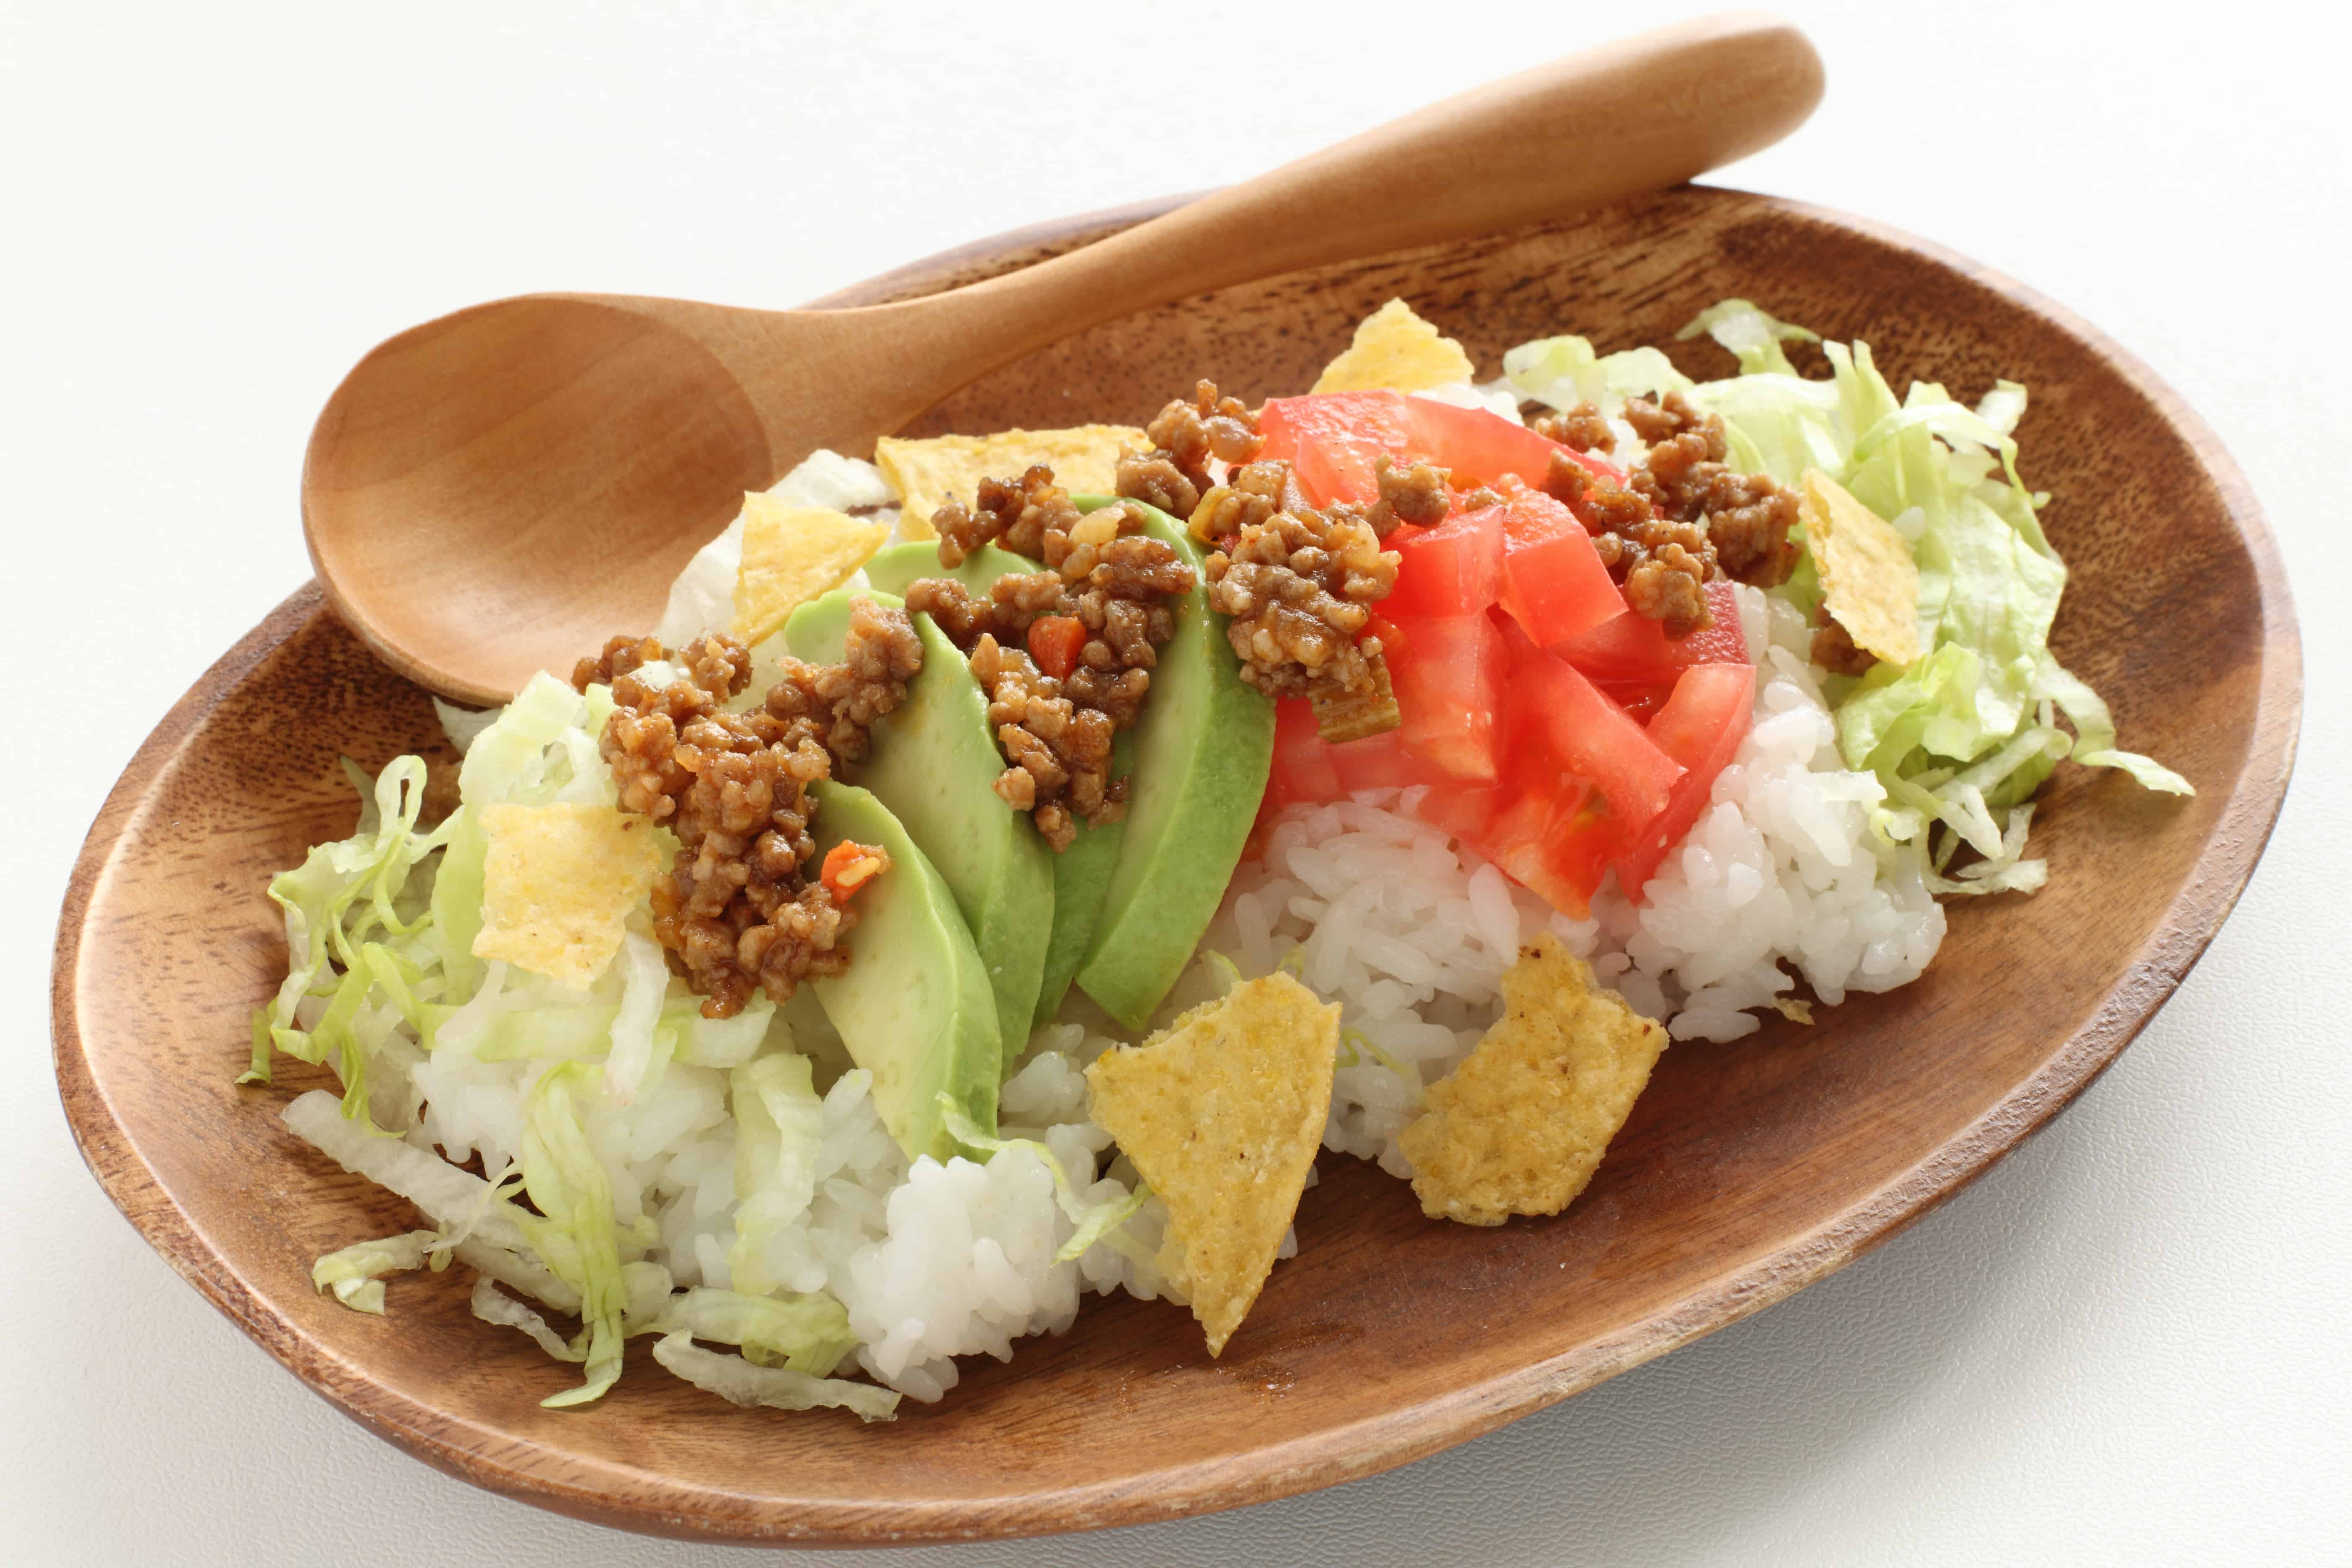 TACO RICE
INGREDIENTS
2¾ - 3 cups cooked rice (or other grain - see post for options)
½ lb lean ground beef
½ small onion, finely chopped
3-4 mushrooms, finely chopped
1 small bell pepper, finely chopped
½ cup salsa
½ cup water
1 pkg (30g) reduced sodium taco seasoning
1 cup grated cheddar cheese
SALAD TOPPINGS:
chopped tomatoes
chopped lettuce
sour cream
grated cheese
tortilla chips
Directions
TACO RICE
INGREDIENTS
2¾ - 3 cups cooked rice (or other grain - see post for options)
½ lb lean ground beef
½ small onion, finely chopped
3-4 mushrooms, finely chopped
1 small bell pepper, finely chopped
½ cup salsa
½ cup water
1 pkg (30g) reduced sodium taco seasoning
1 cup grated cheddar cheese
SALAD TOPPINGS:
chopped tomatoes
chopped lettuce
sour cream
grated cheese
tortilla chips
Directions
- Prepare rice according to package directions. Preheat oven to 350 degrees.
- Meanwhile, fry ground beef with onion, mushrooms and pepper until no pink remains in meat.
- Drain grease, then add salsa, water and taco seasoning and stir well.
- Stir cooked rice into meal mixture and transfer to lightly greased 9x9-inch baking dish..
- Top with grated cheese and bake for 10-15 minutes to melt cheese. Serve with toppings of your choice.
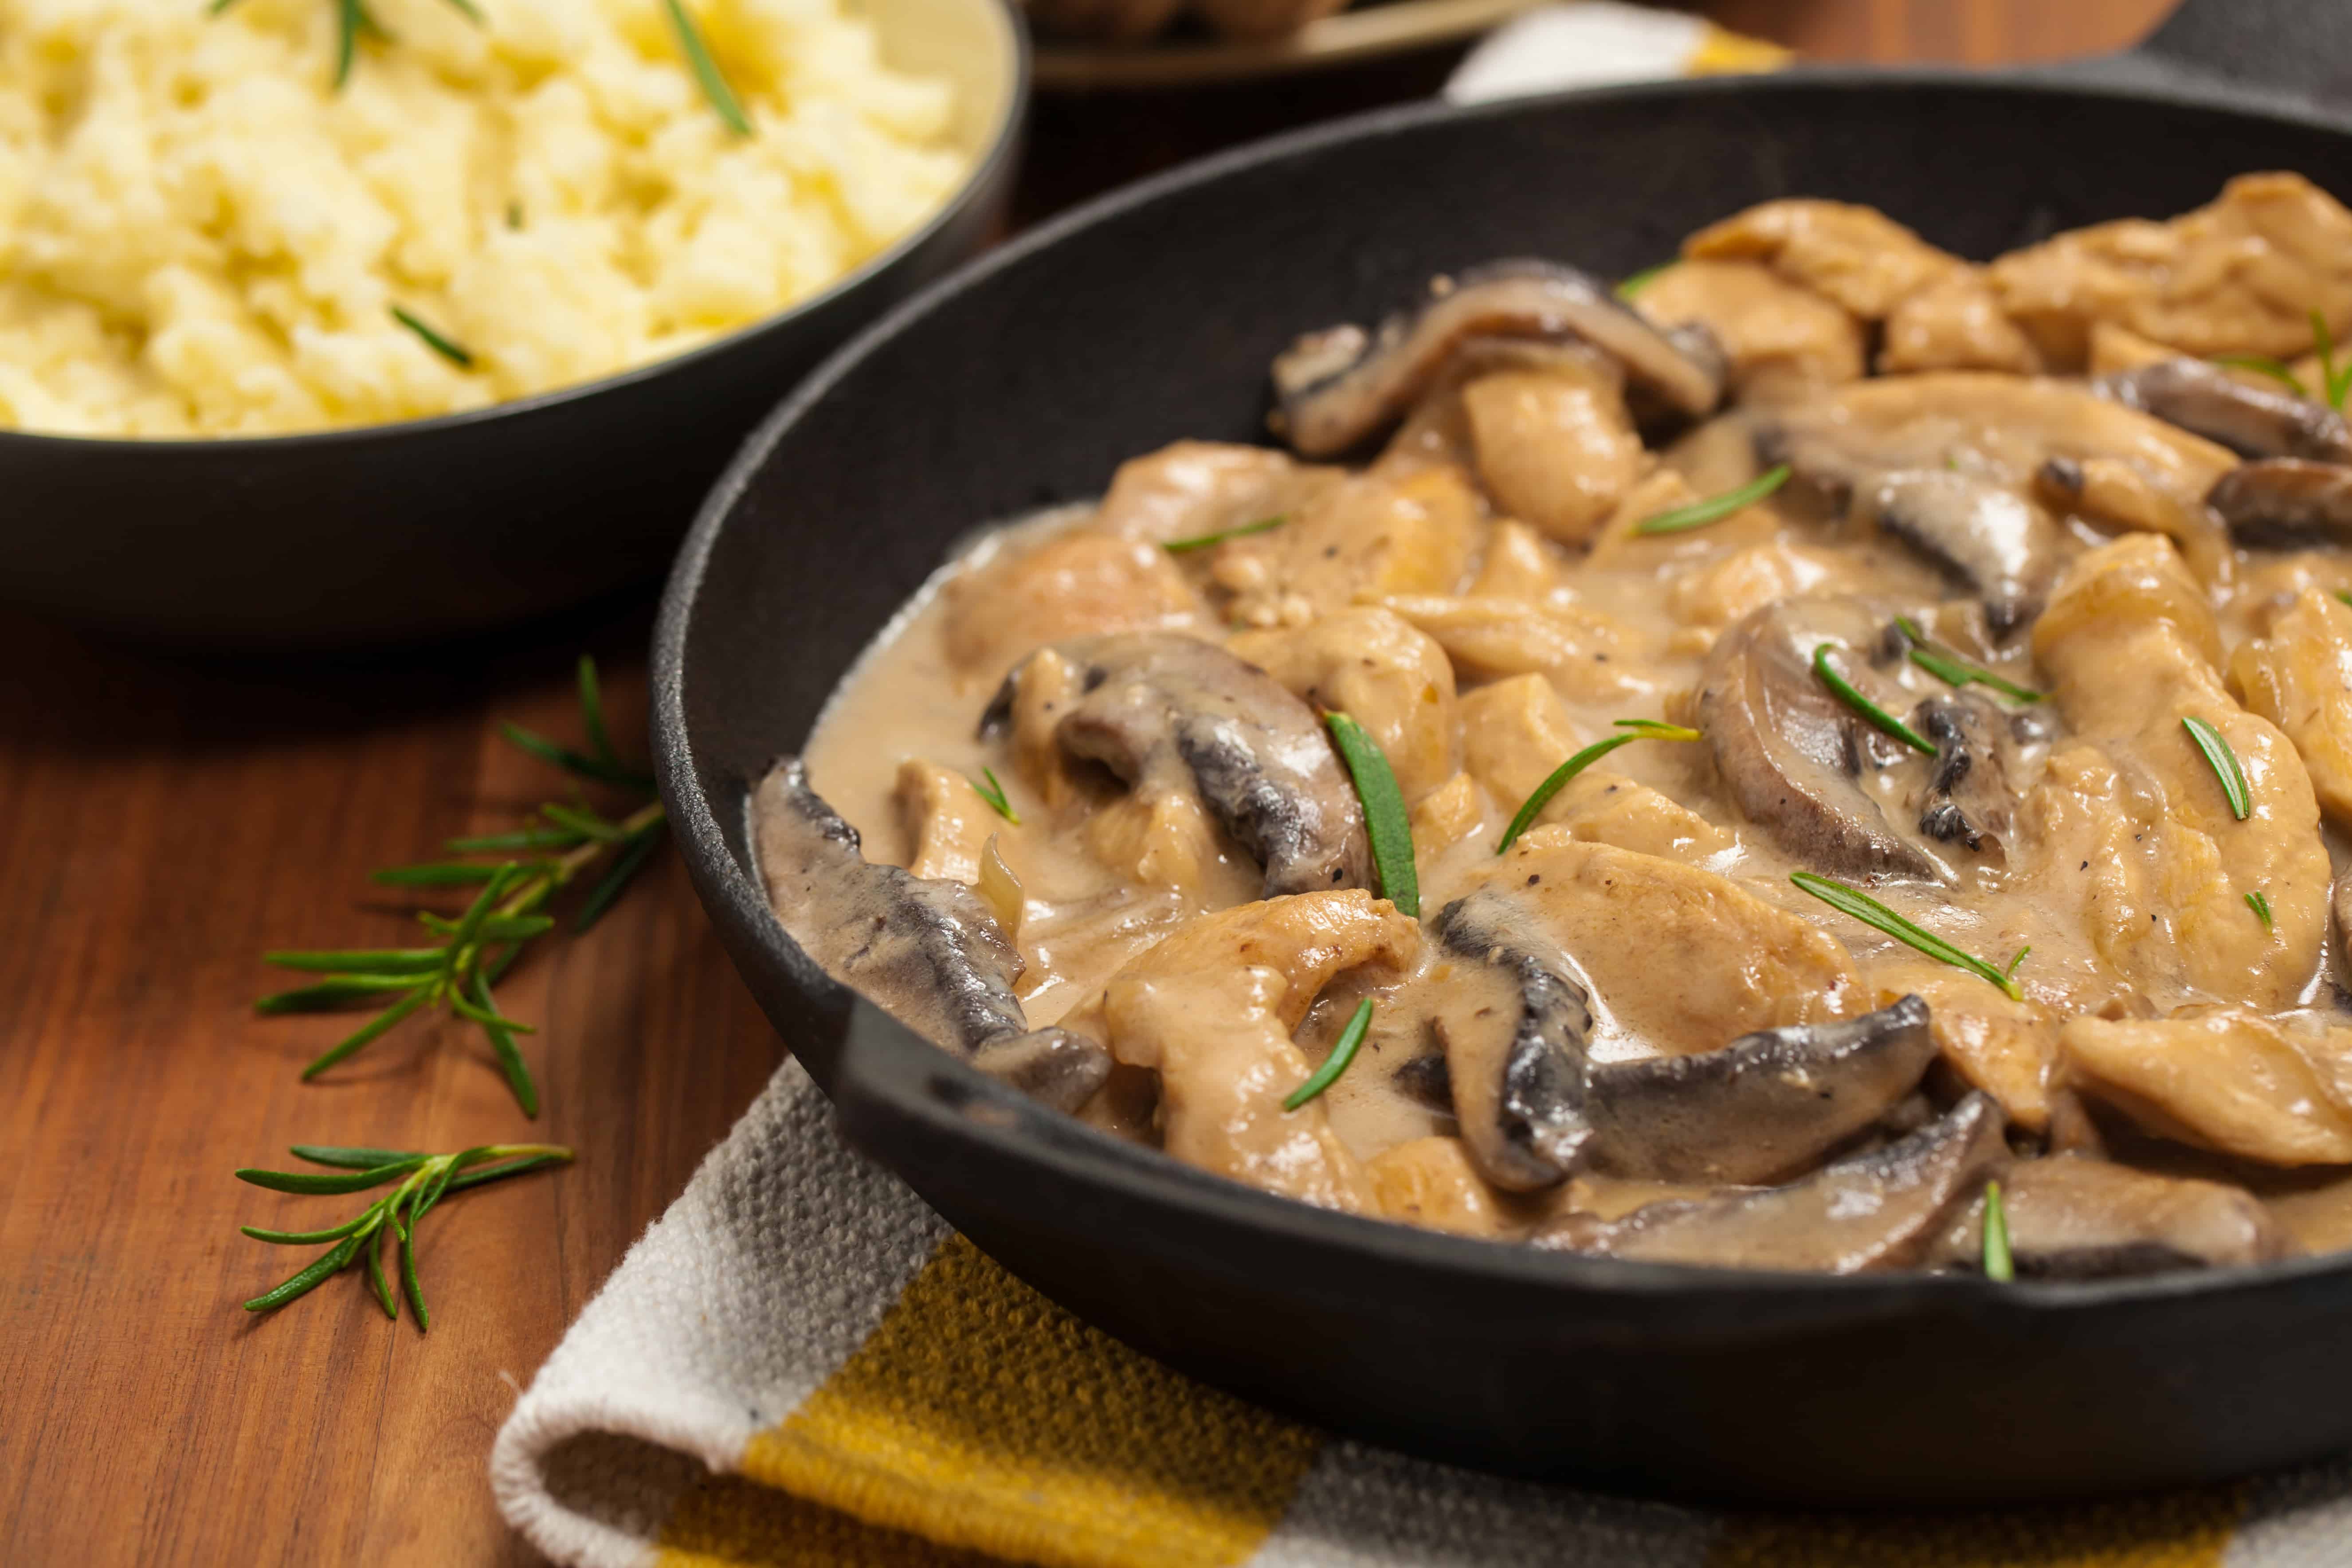 SMOTHERED CHICKEN
INGREDIENTS
canola or olive oil, for cooking
8 chicken thighs, with skin and bone
salt and freshly ground black pepper
big pinches of fresh or dried thyme
1 large onion, halved and thinly sliced
2 cups quartered fresh mushrooms
2 garlic cloves, crushed
2 Tbsp all-purpose flour
1-1 1/2 cups chicken stock
1/2 cup whipping cream or sour cream
Directions
SMOTHERED CHICKEN
INGREDIENTS
canola or olive oil, for cooking
8 chicken thighs, with skin and bone
salt and freshly ground black pepper
big pinches of fresh or dried thyme
1 large onion, halved and thinly sliced
2 cups quartered fresh mushrooms
2 garlic cloves, crushed
2 Tbsp all-purpose flour
1-1 1/2 cups chicken stock
1/2 cup whipping cream or sour cream
Directions
- Set a large, heavy pan over medium-high heat. Add a drizzle of oil and once it’s hot, brown the chicken thighs on all sides, sprinkling with salt, pepper and thyme. Transfer to a plate as they brown.
- Add the onions and mushrooms to the pan and cook, stirring, until both are turning golden.
- Add the garlic and cook for another minute, then shake the flour overtop and stir to coat.
- Add the chicken stock and stir until it bubbles and thickens.
- Add the cream, then return the chicken to the pan, cover with a tight-fitting lid and cook for another 20 minutes, or until the chicken is cooked through.
- Serve with mashed potatoes or buttered noodles.
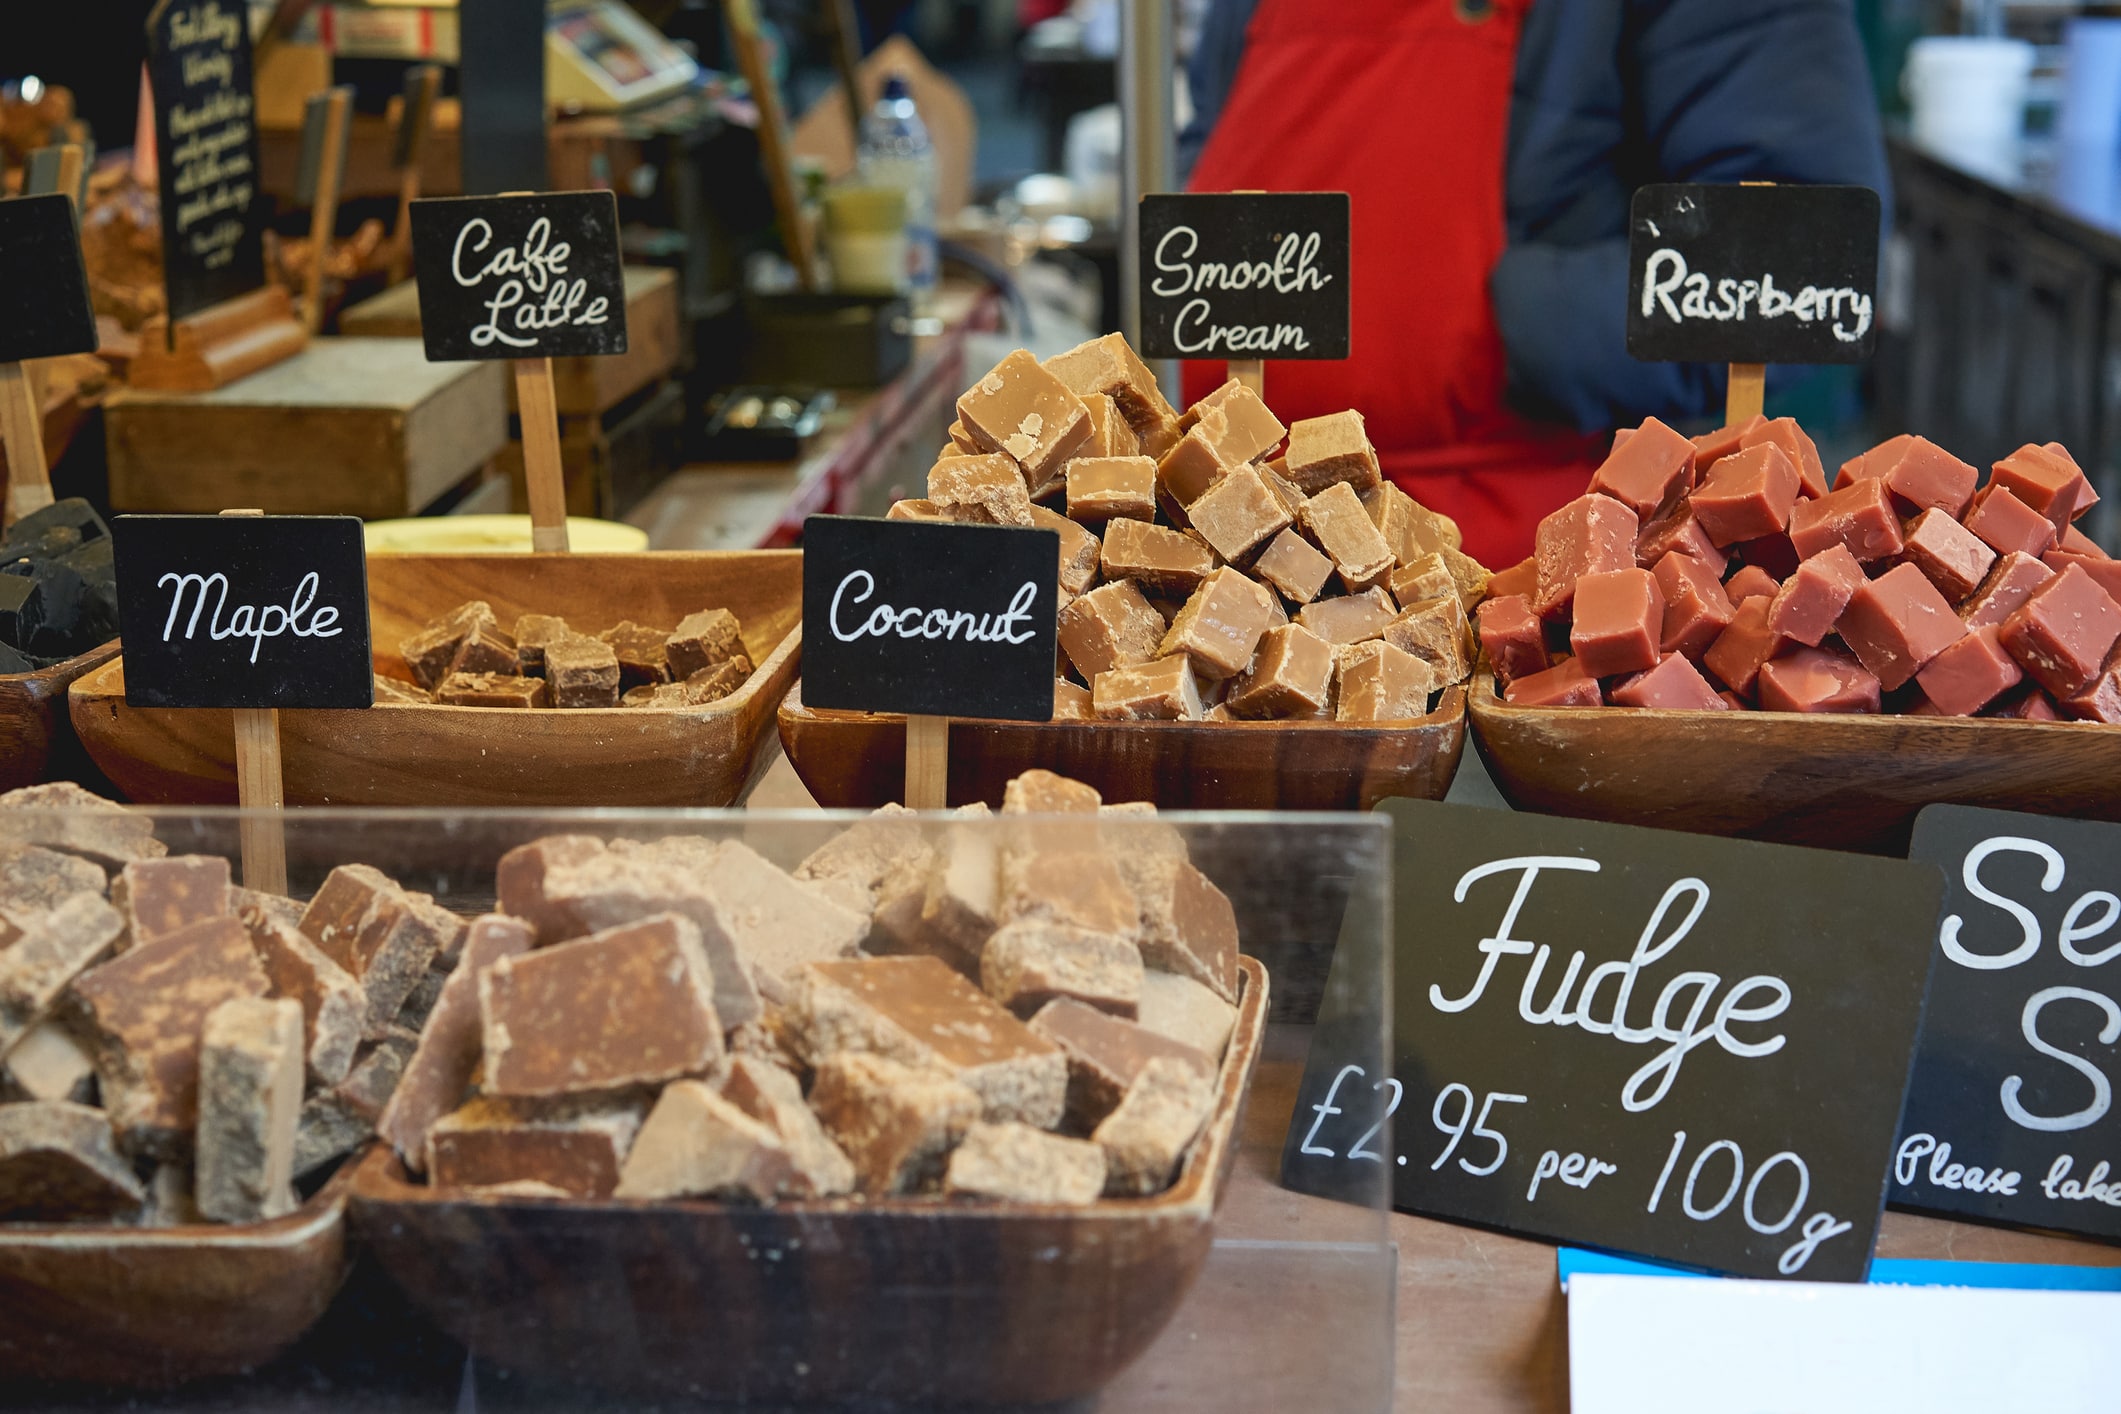 MEXICAN HOT FUDGE CHOCOLATE PUDDING CAKE
INGREDIENTS
Cake:
1 cup flour
3/4 cup granulated sugar
1/4 cup cocoa powder
2 tsp baking powder
1/4 tsp salt
1/2 cup milk
2 tbsp melted butter
1/2 tsp vanilla extract
Topping:
1/2 cup lightly packed brown sugar
1/4 cup granulated sugar
1/4 cup cocoa powder
1 tsp ground cinnamon
1/4 tsp ground chipotle powder
1 cup very hot fresh-brewed coffee
3/4 cup milk
Directions
MEXICAN HOT FUDGE CHOCOLATE PUDDING CAKE
INGREDIENTS
Cake:
1 cup flour
3/4 cup granulated sugar
1/4 cup cocoa powder
2 tsp baking powder
1/4 tsp salt
1/2 cup milk
2 tbsp melted butter
1/2 tsp vanilla extract
Topping:
1/2 cup lightly packed brown sugar
1/4 cup granulated sugar
1/4 cup cocoa powder
1 tsp ground cinnamon
1/4 tsp ground chipotle powder
1 cup very hot fresh-brewed coffee
3/4 cup milk
Directions
- Preheat oven to 350F. Lightly grease an 8×8-inch baking dish.
- To make the cake layer, sift together the flour, sugar, cocoa powder, baking powder and salt into a large bowl. Pour in the milk, melted butter, and vanilla extract, and stir until combined. Scrape the batter into the prepared baking pan, and spread it out into a more or less even layer.
- Prepare the topping by whisking together the brown sugar, granulated sugar, cocoa powder, cinnamon and chipotle in a small bowl. Sprinkle evenly onto the batter.
- Slowly pour in the hot coffee and milk, covering the batter and topping. (Your cake will look like a watery mess at this point. That’s totally normal. Keep calm and carry on.)
- Bake in preheated oven for 40 minutes, or until the mixture has separated into a dry cake-like layer on top and a soft pudding-like layer on the bottom.
- Let stand for about 15 minutes, then spoon out into individual serving dishes, topping with a dollop of whipped cream if you’re feeling extra-fancy. Serve right away, while the cake is still warm.
